DIY: Building a Fire Pit
By: Lauren M. Liff for Dabah Landscape Designs
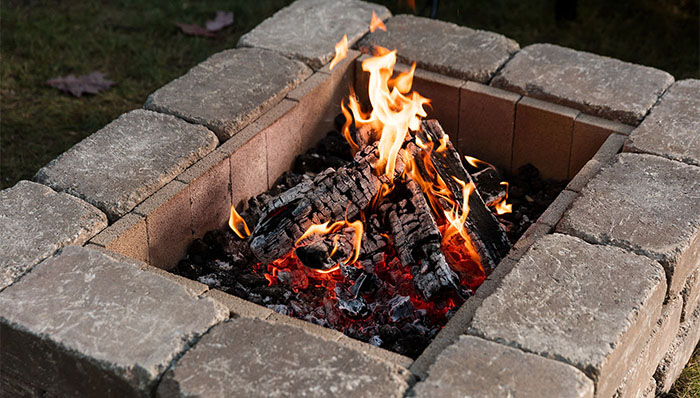
Now that you know what to consider when building a fire pit, lets talk about an easy DIY project to build one! There’s a great satisfaction that comes from using something that you built yourself, especially something as wonderful as a fire pit that. Even though it may seem small, it can make a big impact on your outdoor entertainment experience. You can refer back to our previous fire pit post for a list of things to consider before beginning this project.
Here is what you will need:
Cast concrete wall stones
Gravel base
Construction Adhesive
Edger
Fire bricks
Level
Tamper
Steel rake
Let’s get started!
1. Pick a safe location to build your fire pit, make sure the area is clear of debris or low hanging branches. It should be at least 10 feet from the house.
2. Lay out your pavers in a circle in the shape and size of the fire pit you desire. They should typically be 36 to 44 inches in diameter. Once the blocks are laid out, use your edger to mark out the outside of your fire pit design.
3. Once the blocks are clear, you can use your edger to dig out the area about 2 inches down and use your tamper to level it. Using your level will help to ensure the strength of the base.
4. Using the gravel base, spread 2 inches on the tamped soil area (a rake will help make the spreading easier). Once the gravel base is laid out – tamp it down to make it level.
5. To ensure that the base is strong enough for your fire pit, you can wet the gravel base, tamp it, and add another ½ inch or so (and tamp it again). Always use your level to ensure that everything is even. If the base is not level you can adjust accordingly.
6. Now you can lay out your first layer of blocks on top of the gravel base – make sure the blocks are flush up against one another. You can check the blocks to make sure they are level as well and adjust accordingly.
7. When adding the second row, be sure to stagger the joints of the blocks – once the second row is laid out, remove two blocks at a time and apply construction adhesive to hold your fire pit together.
8. The remaining rows are placed and cemented as the second row – staggered joints and construction adhesive to hold them in place.
9. When your rows are completed you can line the inner walls of the blocks with your fire bricks and use lava rocks to hold them in place
10. Once the fire pit is dried and completed you are ready to enjoy a wonderful night out by the fire with friends and family. Get those marshmallows ready!
DIY Scented Fire Starters:
For those of you who grow herbs in your home or garden, you can dry them and use them to create your own scented fire starter! The recommended herbs are: rosemary, sage, lavender and mint. All you need to do is dry some cuttings of your favorite herbs and once they are dry wrap them in newspaper and tie it up with some natural twine. Simply place your fire starter in the fire pit and get ready to enjoy the sweet aroma of your favorite herbs as you relax by the fire!


